In this video, I demonstrate warping the frame loom (made with stretcher bars) for a 4” wide weaving at 6 ends per inch (EPI). Think of the warp (vertical threads that create a foundation to weave on) as your canvas. You are creating a canvas out of string!
Mark the top and bottom of the frame in inches. Then mark the middle 4”.
This is designed to be an easy way to get started with Tapestry weaving with a minimum amount of supplies or expense.
There are different ways to warp a simple frame; this is the simplest. It is warped in a circular motion around the loom allowing a space to weave both on the front and the back of the loom.

Warping the Loom
Begin by making a double half-hitch knot (pictured above) around the top of the frame loom at the beginning of the center 4 inches you have marked off. Then, keeping the warp taut, take the warp down to the bottom of the loom at the first of the 4" marks, under the bottom to the back then up to the top of the loom. Keeping an even tension, continue with warp over the top, around the bottom and back to the top again, spacing the warp threads so that you have 6 warp threads over each one inch mark. Continue across the loom until you have reached the 4”. When all the warp has been wound, you should have 24 warps across the front (and 24 across the back). Secure the end of the yarn with a double half- hitch knot. It is easier to do this if you turn the loom around and make the knot from the back side.
The advantage to the double half-hitch knot is that it can be easily re-tightened if the warp becomes loose.
Check the evenness of the warp
Even it up so that each warp thread is evenly spaced between the inch marks. You can look at the warp sideways to make sure there are no criss-crosses or figure 8’s between the front and the back.
Make sure each warp thread is separated and not overlapping along top or bottom. If it is, separate the overlapping warps.
Check the tension of the warp
Run your fingers across the warp to see if the tension feels even. The warp should not be loose; tighter is better, but most importantly it should be even. If uneven areas are felt or it is too loose, you can adjust the tension by starting at the beginning and pulling each warp until you reach the end where it can be tightened again with the double half-hitch knot.
Place a sheet of paper or cardboard between the front and back warps. This makes it easier to see the front warps as you’re working on them.
Place the shed stick
A “shed stick” is used to keep the two sheds separate and make it easier to raise one shed. The alternating shed is then picked across with fingers or a threaded darning needle.
With the shed stick and starting from the right, weave over, then under the warp threads, alternating across the warp. Push the shed stick to the top of the loom.
Separating the warp ends
Before beginning to weave, the warp ends need to be separated into two sheds.
Cut 2 lengths of warp yarn about 24” long. Tie the first one to the left side of the loom using a secure knot. Raise the shed by placing the shed stick on its side. Insert the yarn through the shed to the right side of the loom, check for errors, and tie to the side.
Tie the second piece of warp yarn to the left side, thread it onto a tapestry needle and go over and under the alternate warp threads across the entire warp. Double check to be sure there are no errors. Tie to the right side.
Note: You can also go right to left when doing this. It makes no difference; use whatever is most comfortable.
Re-adjust the spacing as necessary.
Note: the 12/15 cotton seine twine shown in the video was actually 12/9. Here is the 12/15 photo. You can see it is thicker than the one shown in the video.
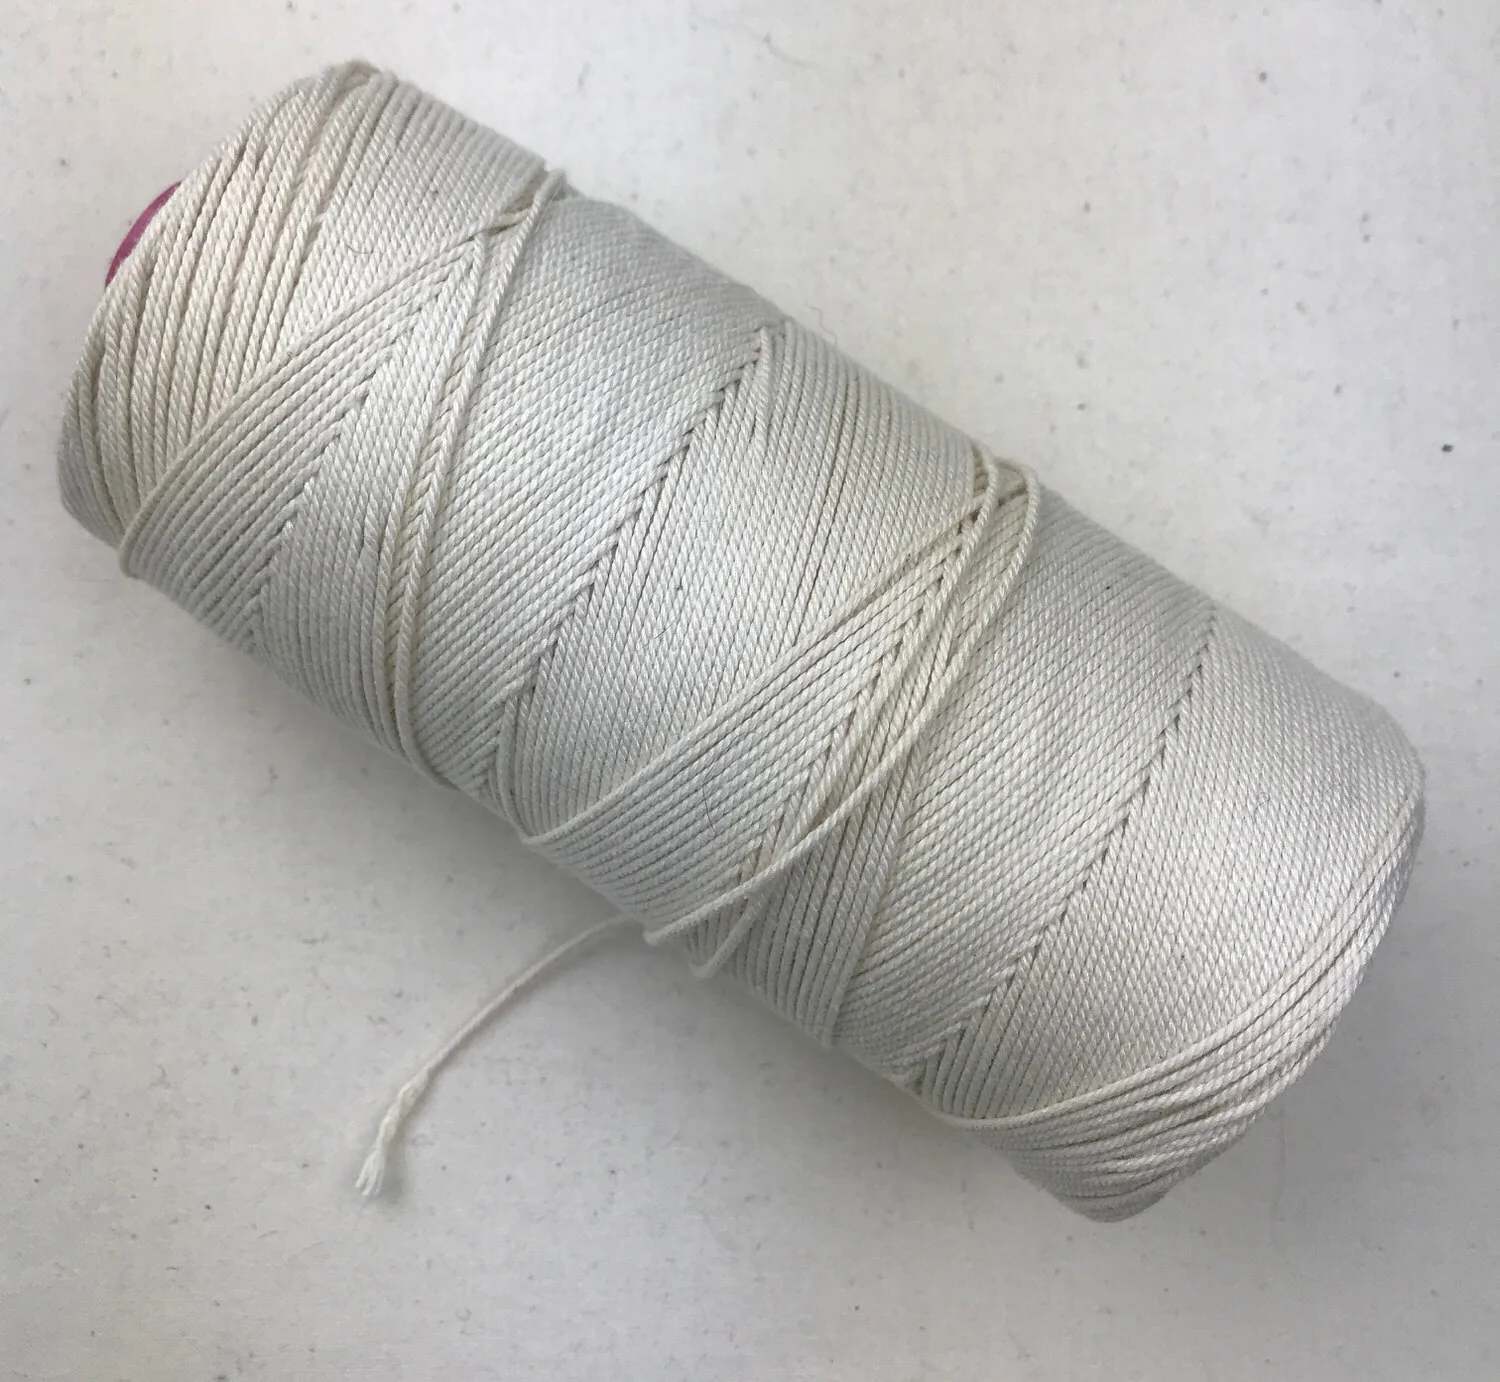
12/15 cotton seine twine used in the video for warping the loom at 6 ends per inch.
Once your canvas is ready… time to create!
I hope you’ve enjoyed this tutorial.
Watch for my emails to learn more.
Not on the mailing list?
No problem! You can sign up here!